One of my goals over the last year or so was to do more coding and to specifically do more GLSL programming. You learn best by actually working on projects. I know that, but I have had some trouble making time to do things on my own.
I want to go over my thought process in figuring out a filter I wanted to write, how I was able to utilize the resources available to me, and to hopefully give you an idea about how you can do the same.
You can clone GPUImage here.
Solarize Image Filter
One thing I had trouble with in GPUImage is the fact that it is too comprehensive. I couldn’t think of an image filter that wasn’t in the framework already.
So I started thinking about Photoshop. I remembered there was a goofy filter in Photoshop called Solarize.
Since I knew that Brad was more concerned with things like edge detection and machine vision, I figured that it would not have occurred to him to include a purely artistic filter like that. Sure enough, there was no solarization filter. Jackpot!
After figuring out something that wasn’t there, the next question was how to create one. I initially was going to use this Photoshop tutorial as a jumping off point, but I wondered if there was a better way. I Googled “Solarize Effect Algorithm” and I found this computer science class web page that gave an agnostic description of how the effect works.
What is Solarization?
Solarization is an effect from analog photography. In photography, one important component of a photograph is its exposure time. Photographers used to purposely overexpose their photos to generate this effect. When a negative or a print is overexposed, parts of the image will invert their color. Black will become white, green will become red.
There is a threshold where any part that passes that threshold will receive the effect.
One of the things Brad told me about GPUImage was that many of the filters in GPUImage are composed of many smaller filters. It’s like building blocks. You have a base number of simple effects. These effects can be combined together to generate more and more complex effects.
Looking at the algorithm for solarization, I noticed it requires two things:
- An adaptive threshold to determine what parts of the image receive the effect
- An inversion effect on the pixels
I opened up GPUImage to see if there were already filters that do those things. Both of these functions already exist in GPUImage.
Now I needed to figure out how they work so that I could combine them into one, complex filter.
GPUImageColorInvertFilter
Since the color invert filter is the simpler of the two filters, I will be looking at this one first.
Since this is a straightforward filter that does one thing without any variables, there are no publicly facing properties in it’s header file.
Here is the code for the vertex shader that we see in the implementation file:
NSString *const kGPUImageInvertFragmentShaderString = SHADER_STRING
(
 varying highp vec2 textureCoordinate;

 uniform sampler2D inputImageTexture;

 void main()
 {
    lowp vec4 textureColor = texture2D(inputImageTexture, textureCoordinate);

    gl_FragColor = vec4((1.0 - textureColor.rgb), textureColor.w);
 }
);
These two lines will exist in every vertex shader in GPUImage:
varying highp vec2 textureCoordinate;
uniform sampler2D inputImageTexture;
These lines are the lines where you are bringing in the image that is going to be filtered and the specific pixel that the fragment shader is going to work on.
Let’s look at the rest of this:
void main()
{
   lowp vec4 textureColor = texture2D(inputImageTexture, textureCoordinate);
   gl_FragColor = vec4((1.0 - textureColor.rgb), textureColor.w);
}
The first line is simply obtaining the specific RBGA values at the specific pixel that you are currently processing. We need that for the second line of code.
The gl_FragColor is the “return” statement for the fragment shader. We are returning what color the pixel will be. Texture colors are part of a normalized coordinate system where everything exists on a continuum between 0.0 and 1.0. In order to invert the color, we are subtracting the current color from 1.0. If your red value is 0.8, the inverted value would be (1.0 - 0.8), which equals 0.2.
This is a simple and straight forward shader. All of the actual, shader specific logic is in the gl_FragColor line where we are doing the logic to invert the colors.
Now let’s move on to the more complicated shader.
GPUImageLuminanceThresholdFilter
The Luminance Threshold Filter is interesting. It checks the amount of light in the frame and if it is above a certain threshold, the pixel will be white. If it’s below that threshold, the pixel will be black. How do we do this? Let’s find out.
The Luminance Threshold Filter, unlike the color inversion filter, has public facing properties. This means that the header file has some actual code in it that we need to be aware of. Since this one is interactive and depends upon input from the user, we need a way for the shader to interface with the rest of the code:
@interface GPUImageLuminanceThresholdFilter : GPUImageFilter
{
    GLint thresholdUniform;
}

/** Anything above this luminance will be white, and anything below black. Ranges from 0.0 to 1.0, with 0.5 as the default
 */
@property(readwrite, nonatomic) CGFloat threshold;

@end
Our threshold property will receive input from a slider in the UI that will then set a property we will need to calculate our shader.
NSString *const kGPUImageLuminanceThresholdFragmentShaderString = SHADER_STRING
(
 varying highp vec2 textureCoordinate;

 uniform sampler2D inputImageTexture;
 uniform highp float threshold;

 const highp vec3 W = vec3(0.2125, 0.7154, 0.0721);

 void main()
 {
     highp vec4 textureColor = texture2D(inputImageTexture, textureCoordinate);
     highp float luminance = dot(textureColor.rgb, W);
     highp float thresholdResult = step(threshold, luminance);

     gl_FragColor = vec4(vec3(thresholdResult), textureColor.w);
 }
);
This has a few more components than the color inversion code. Let’s take a look at the new code.
uniform highp float threshold;
const highp vec3 W = vec3(0.2125, 0.7154, 0.0721);
The first variable is the value we are receiving from the user for our threshold. We want this to be very accurate because we’re trying to determine whether a pixel should receive an effect or not.
The second line has what looks like a set of “magic numbers.” These numbers are a formula for determining luminance. There are explanations for it here and in the iPhone 3D programming book by Philip Rideout. We will use this constant to map over the current value of the fragment in the next bit of code.
void main()
{
    highp vec4 textureColor = texture2D(inputImageTexture, textureCoordinate);
    highp float luminance = dot(textureColor.rgb, W);
    highp float thresholdResult = step(threshold, luminance);

    gl_FragColor = vec4(vec3(thresholdResult), textureColor.w);
}
The first line does the same thing as it did in the color inversion filter, so we can safely move on to the next line.
For the luminance variable, we’re encountering our first function that doesn’t exist in C: dot(). dot() takes each red, green, and blue property in our current pixel and multiplies it by the corresponding property in our “magic” formula. These are then added together to generate a float.
I have tried hard to find a good explanation of why dot product exists and what it does. This is the closest thing I can find. One of my goals with this series of blog posts is to take things like dot product where you can explain what it does, but not why you are using it and what functionality it fulfills. For now, hopefully this is enough.
Next up, we have the threshold result. This is where we are doing our only conditional logic in the shader. If you recall, this shader makes a determination if each pixel should be white or black. That determination is being made here.
The step() function evaluates two different floats. If the first number is larger, then the threshold result is 1.0 and that particular pixel is bright enough to pass the threshold requirements. If the second number is larger, then the pixel is too dim to pass the threshold and the result is 0.0.
Finally, we map this result to our “return” statement, the gl_FragColor. If the pixel passed the threshold, then our RGB values are (1.0,1.0,1.0), or white. If it was too dim, the then RGB values are (0.0,0.0,0.0), or black.
GPUImageSolarizeFilter
According to the algorithm that describes the solarization process, you use a luminance threshold to determine if a pixel receives an effect or not. Instead of the effect of making the pixel either white or black, we want to know if the pixel should be left alone or if it’s color should be inverted.
The only line of code that the color inversion filter has that the threshold doesn’t have is a different gl_FragColor:
// Color inversion gl_FragColor
gl_FragColor = vec4((1.0 - textureColor.rgb), textureColor.w);

// Luminance Threshold gl_FragColor
gl_FragColor = vec4(vec3(thresholdResult), textureColor.w);
I am embarrassed to say how long it took me to figure out how to combine these two filters. I thought about this for a long time. I had to think through all of the logic of how the threshold filter works.
The threshold filter either colors a pixel black or white. That is determined in the thresholdResult variable. This means that we still need the result in order to figure out if a pixel receives an effect or not, but how do we modify it?
Look at this part of the gl_FragColor for the color inversion:
(1.0 - textureColor.rgb)
Where else do we see 1.0 being used in the threshold shader? It’s the result of a successful step() function. If it fails, you wind up with 0.0. We need to change the gl_FragColor from the color inversion filter to have the option to return a normal color or an inverted color. If we subtract 0.0 from the texture color, then nothing changes.
This is the final code I came up with to implement my Solarize Shader:
NSString *const kGPUImageSolarizeFragmentShaderString = SHADER_STRING
(
 varying highp vec2 textureCoordinate;

 uniform sampler2D inputImageTexture;
 uniform highp float threshold;

 const highp vec3 W = vec3(0.2125, 0.7154, 0.0721);

 void main()
 {
     highp vec4 textureColor = texture2D(inputImageTexture, textureCoordinate);
     highp float luminance = dot(textureColor.rgb, W);
     highp float thresholdResult = step(luminance, threshold);
     highp vec3 finalColor = abs(thresholdResult - textureColor.rgb);

     gl_FragColor = vec4(finalColor, textureColor.w);
 }
);
This is primarily composed of the same code to create the luminance threshold shader, but instead of mapping each pixel to be either black or white, I am using that result to check to see if I am inverting my colors. If the colors need to be inverted, then the thresholdResult is 1.0 and our formula moves forward as usual. If thresholdResult is 0.0, then our texture color remains the same, except now it is negative, which is why I wrapped it in an abs() function.

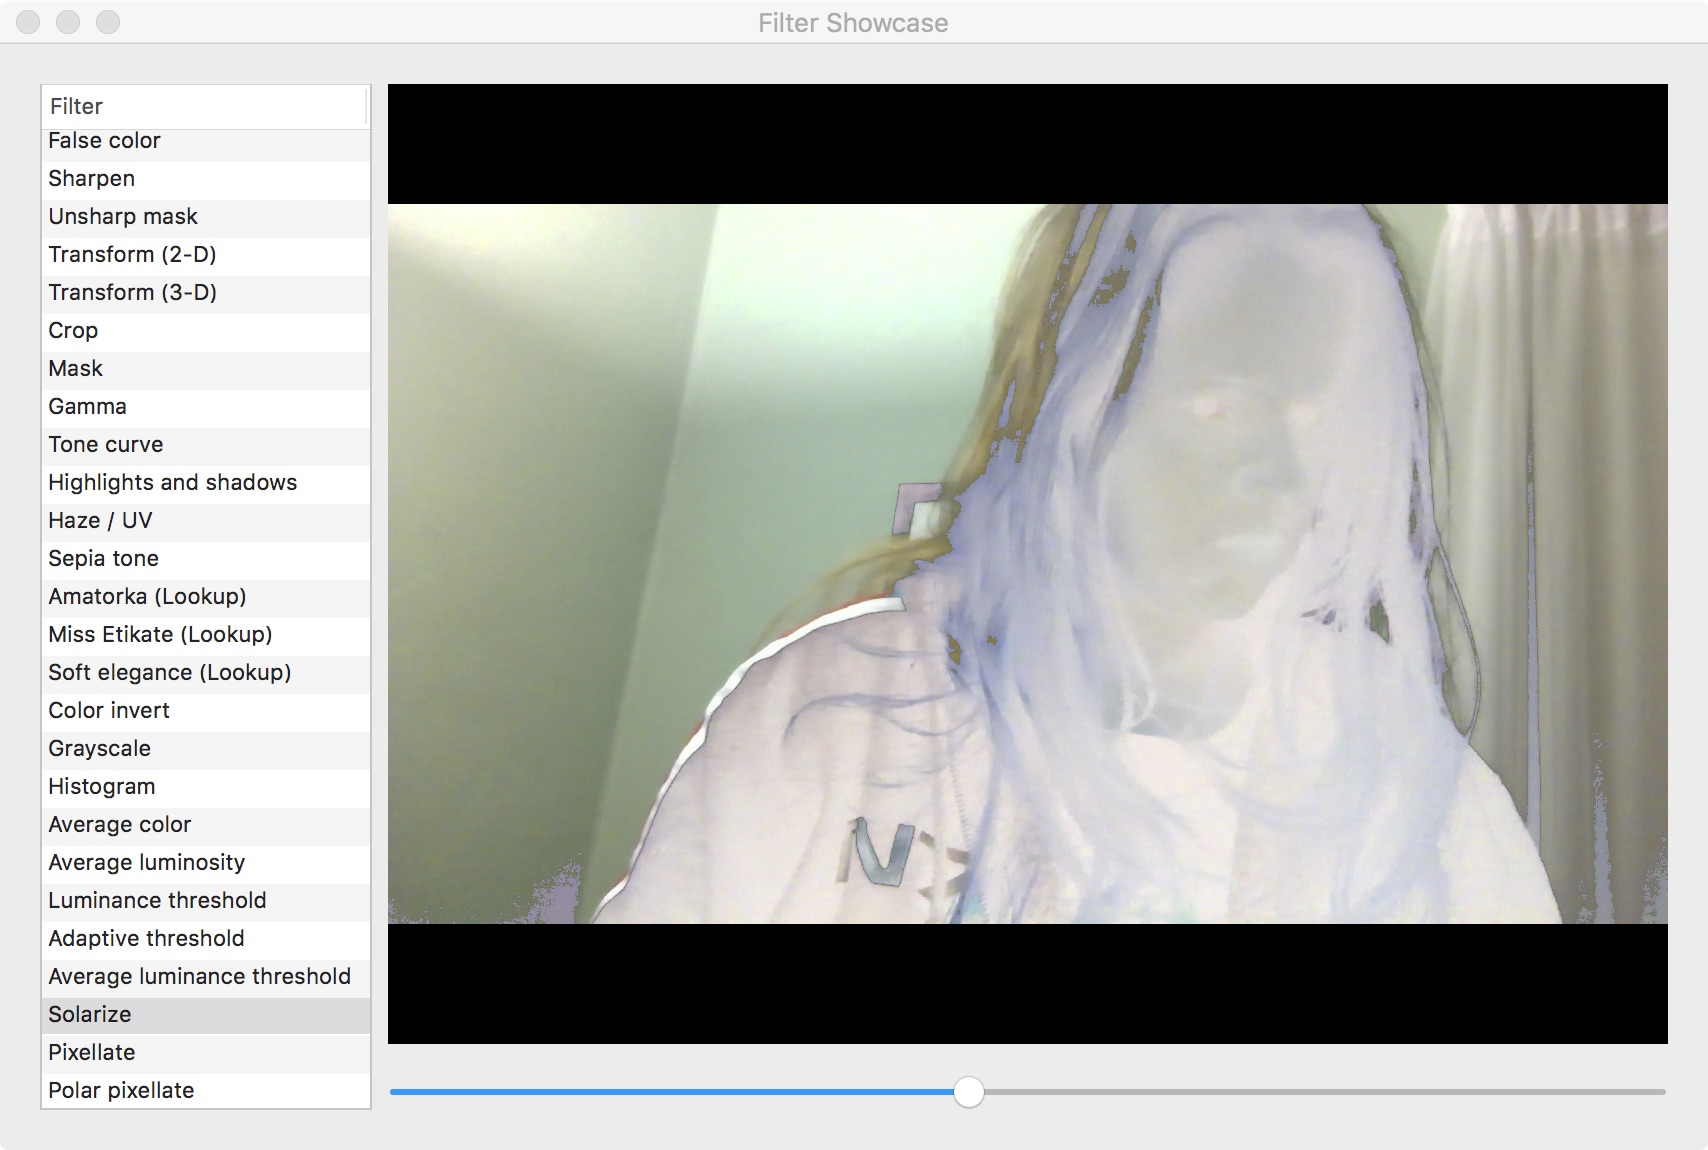
Completely solarize shader. Will try to get a better picture later.
Takeaways
One of the big things I keep harping on with this blog the last year or so is that to be a good engineer, you must have an understanding about what you’re trying to accomplish.
Breaking down a shader that you want into an algorithm helps you to tease out what pieces of functionality you need to get the result you want. In a lot of cases, the smaller pieces of functionality are already out there in the world somewhere and you can reuse them to build more complex things.
You also need to be able to read through those shaders to figure out how they work so you can know where the pressure points are to change the code. Since shaders are so small, you can usually take one line at a time and break down what it does. If there is a function being used that you’re unfamiliar with, Google it. You don’t always need to understand all of the why something is being used in order to implement it, such as I did with the dot() function. I was able to have a good enough grasp of what it did to understand why it was needed in my shader which was all I really needed.
This stuff can be intimidating, which is why it’s important to spend some time figuring out why something works and, more importantly, figuring out what YOU want to do with it.
I will be following this post up tomorrow with instructions for how to add a shader to the GPUImage framework, including some other parts of the shader code that I did not go over here.