Note: I do not have Amazon affiliate links set up on my blog. I am too lazy and apathetic to figure out how they work. There are a lot of links to products on Amazon. I set up the links to thinks I have personally purchased just to make it easy for people to find if they are interested in doing so. I don’t want this to come across like me trying to sell a bunch of crap. I just hate leaving the house and I buy most stuff from there and wanted to give people suggestions for things.
When my dormant interest in cooking started emerging this past year, one thing that interested me was baking my own bread.
My dad is really into bread, but not the kind of bread I want. When I was a kid we always had whole wheat bread. It’s supposed to be healthier, but it’s like twice as caloric as crappy white bread, which I always thought was bullshit.
Around the time I turned twelve my dad got a bread maker. The only bread he could coax out of this monstrosity was some variety of supposedly French bread. This gummy mass could not be sliced thinner than an inch. He compounded this by microwaving cheese on it. He is of the opinion that anything he makes at home has to be better than anything you buy from somewhere else. I am not of this opinion.
My nightmares of my father’s bread making were one reason I was willing to try the Paleo diet with my ex. I never liked bread and didn’t think it would be a big deal giving it up. I realized that there are lots of different breads in the world and that many of them are heavenly.
I was really intimidated by the thought of making bread. I have never worked with yeast before. The idea of working with it and kneading it were a little scary to me. I figured it would be really complicated.
That was one reason I wanted to make it. It bothered me that it was this mysterious process that everyone I know seemed to muck up very badly. I know that baking anything takes practice and I was hoping that I would do well enough not to get discouraged.
There are a lot of kinds of bread, so I had to pick what I wanted to do first. I was going to try brioche, but I figured I should try something a little more basic before I tackled something fancy.
I knew I wanted to make sandwich bread. I didn’t want to make any of the rustic hearth loaves that my dad foists on us that he buys from the artisanal bread section of the grocery store. I wanted to try making bread with a fine crumb that I could slice finely enough to make grilled cheese sandwiches with. I knew making tearing bread was doable, but I never saw anyone make homemade sandwich bread that could actually be sliced properly.
Recipe and Process
One of the books I bought for my bread making endeavors was The Bread Bible by Rose Levy Beranbaum. I own a number of her books and I was slightly worried about the recipe being too complicated.
Bread Sponge
If you’re going to do any kind of baking, I strongly suggest investing in a kitchen scale. Baking is very touchy. A cup of flour can be many different amounts depending on if you sift the flour, how humid it is, if you pack it in, etc… It’s nice to just place a bowl on the scale and pour out the amount necessary. All decent baking books have an option of either cups or weighted measurements. It also dirties fewer utensils to not have to measure out flour. Just dump it out of the bag until you have the right weight.
I also recommend using King Arthur All Purpose Flour. All purpose flours have a certain percentage of hard and soft wheat in them. Some specialty flours like White Lily Flour have far more soft wheat with less gluten in them and are good for softer breads. I know Rose suggests using only White Lily flour for biscuits and America’s Test Kitchen radio gets at least one call a month from someone complaining that their biscuit’s aren’t like Grandma’s where the answer to the question is “Use White Lily Flour.” King Arthur flour should be readily available in most grocery stores or on Amazon. White Lily Flour is also available on Amazon. The flour makes a difference. Don’t save a buck buying generic flour on something like this.
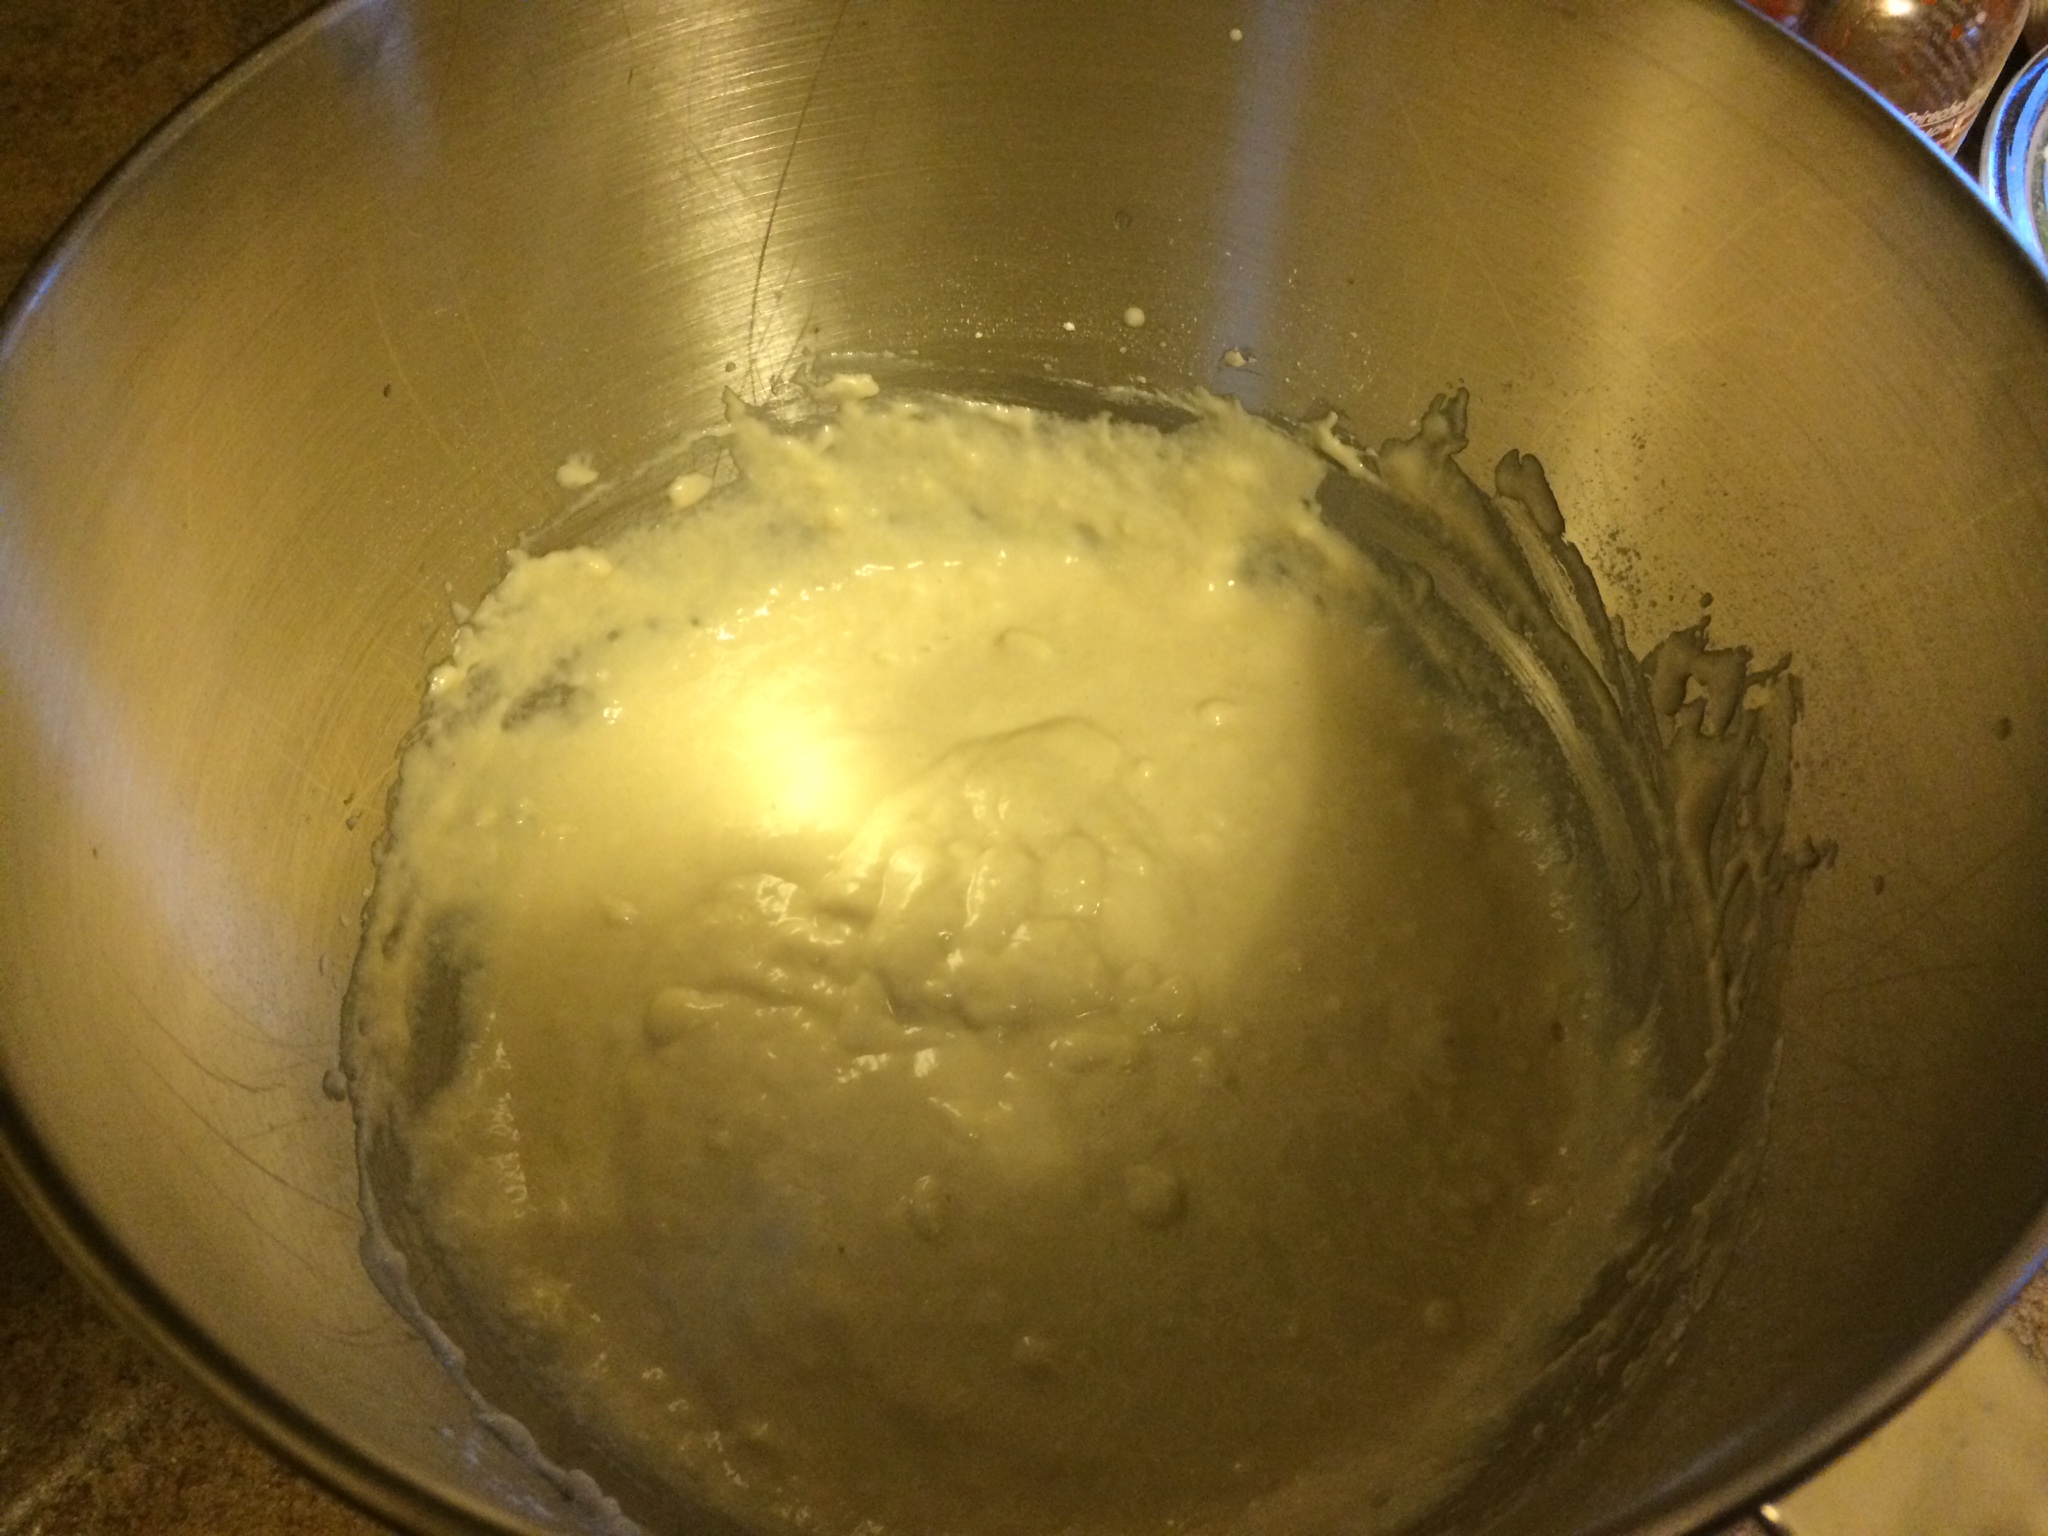
I had one bit of trouble with the recipe. The first step of the recipe is to create a sponge. A sponge is similar to a starter. You take all the liquid ingredients and sugar and yeast along with some of the dry ingredients. You use these to give a head start to the yeast. It cultivates it and lets it get established.
Bread Sponge with Flour Blanket on Top.
The directions for the sponge were a little confusing. It said to let the sponge sit for one to four hours. It wasn’t clear if you were supposed to let the sponge sit and then add the remaining dry ingredients or if you dumped them on top immediately. After I stopped being stupid and read the beginning of the book, I saw that you’re supposed to dump them on top immediately.
The recipe says you can put the sponge in the fridge from eight to twenty four hours before being used. You do need to let the sponge sit out at room temperature for at least an hour before putting it in the fridge.

“Zombie” bread that came back from the dead after warming up a bit.
I have done this recipe twice. The first time I did not refrigerate the sponge, the second time I did. The directions said if you are taking the sponge out of the fridge and hand mixing it, to let it warm for an hour. It wasn’t clear if you should let it warm up if you were using a KitchenAid mixer like I was, so I didn’t let it warm up. It was difficult to get the butter incorporated and everything took an hour longer to happen. The bread took three hours to rise instead of two. So if you’re going to put the sponge in the fridge, I would suggest letting it come up to temperature before mixing the dough.
You mix the dough twice. The first time is only for a minute to bring it together. Then you need to let it rest for twenty minutes to give the gluten time to form. Then you do a more intensive kneading.
I have a “newer” KitchenAid mixer I got in 2009. I am pretty sure they are not as robust as they used to be. The action of kneading the dough shakes the mixer to the point that the locking lever shakes loose and the top of the mixer starts bucking like a mechanical bull. I have to hold it down for the kneading process. It’s only ten minutes, but it is still a pain.
After this, most of your labor is done. Now you just have to wait for things. After the kneading is done, you place the dough in a large oiled mixing bowl. It takes an hour and a half to two hours for the first rising. This part of the process took three hours when I didn’t let the sponge warm properly. I keep my house relatively cool, so I put the bowl in the oven with the light on.
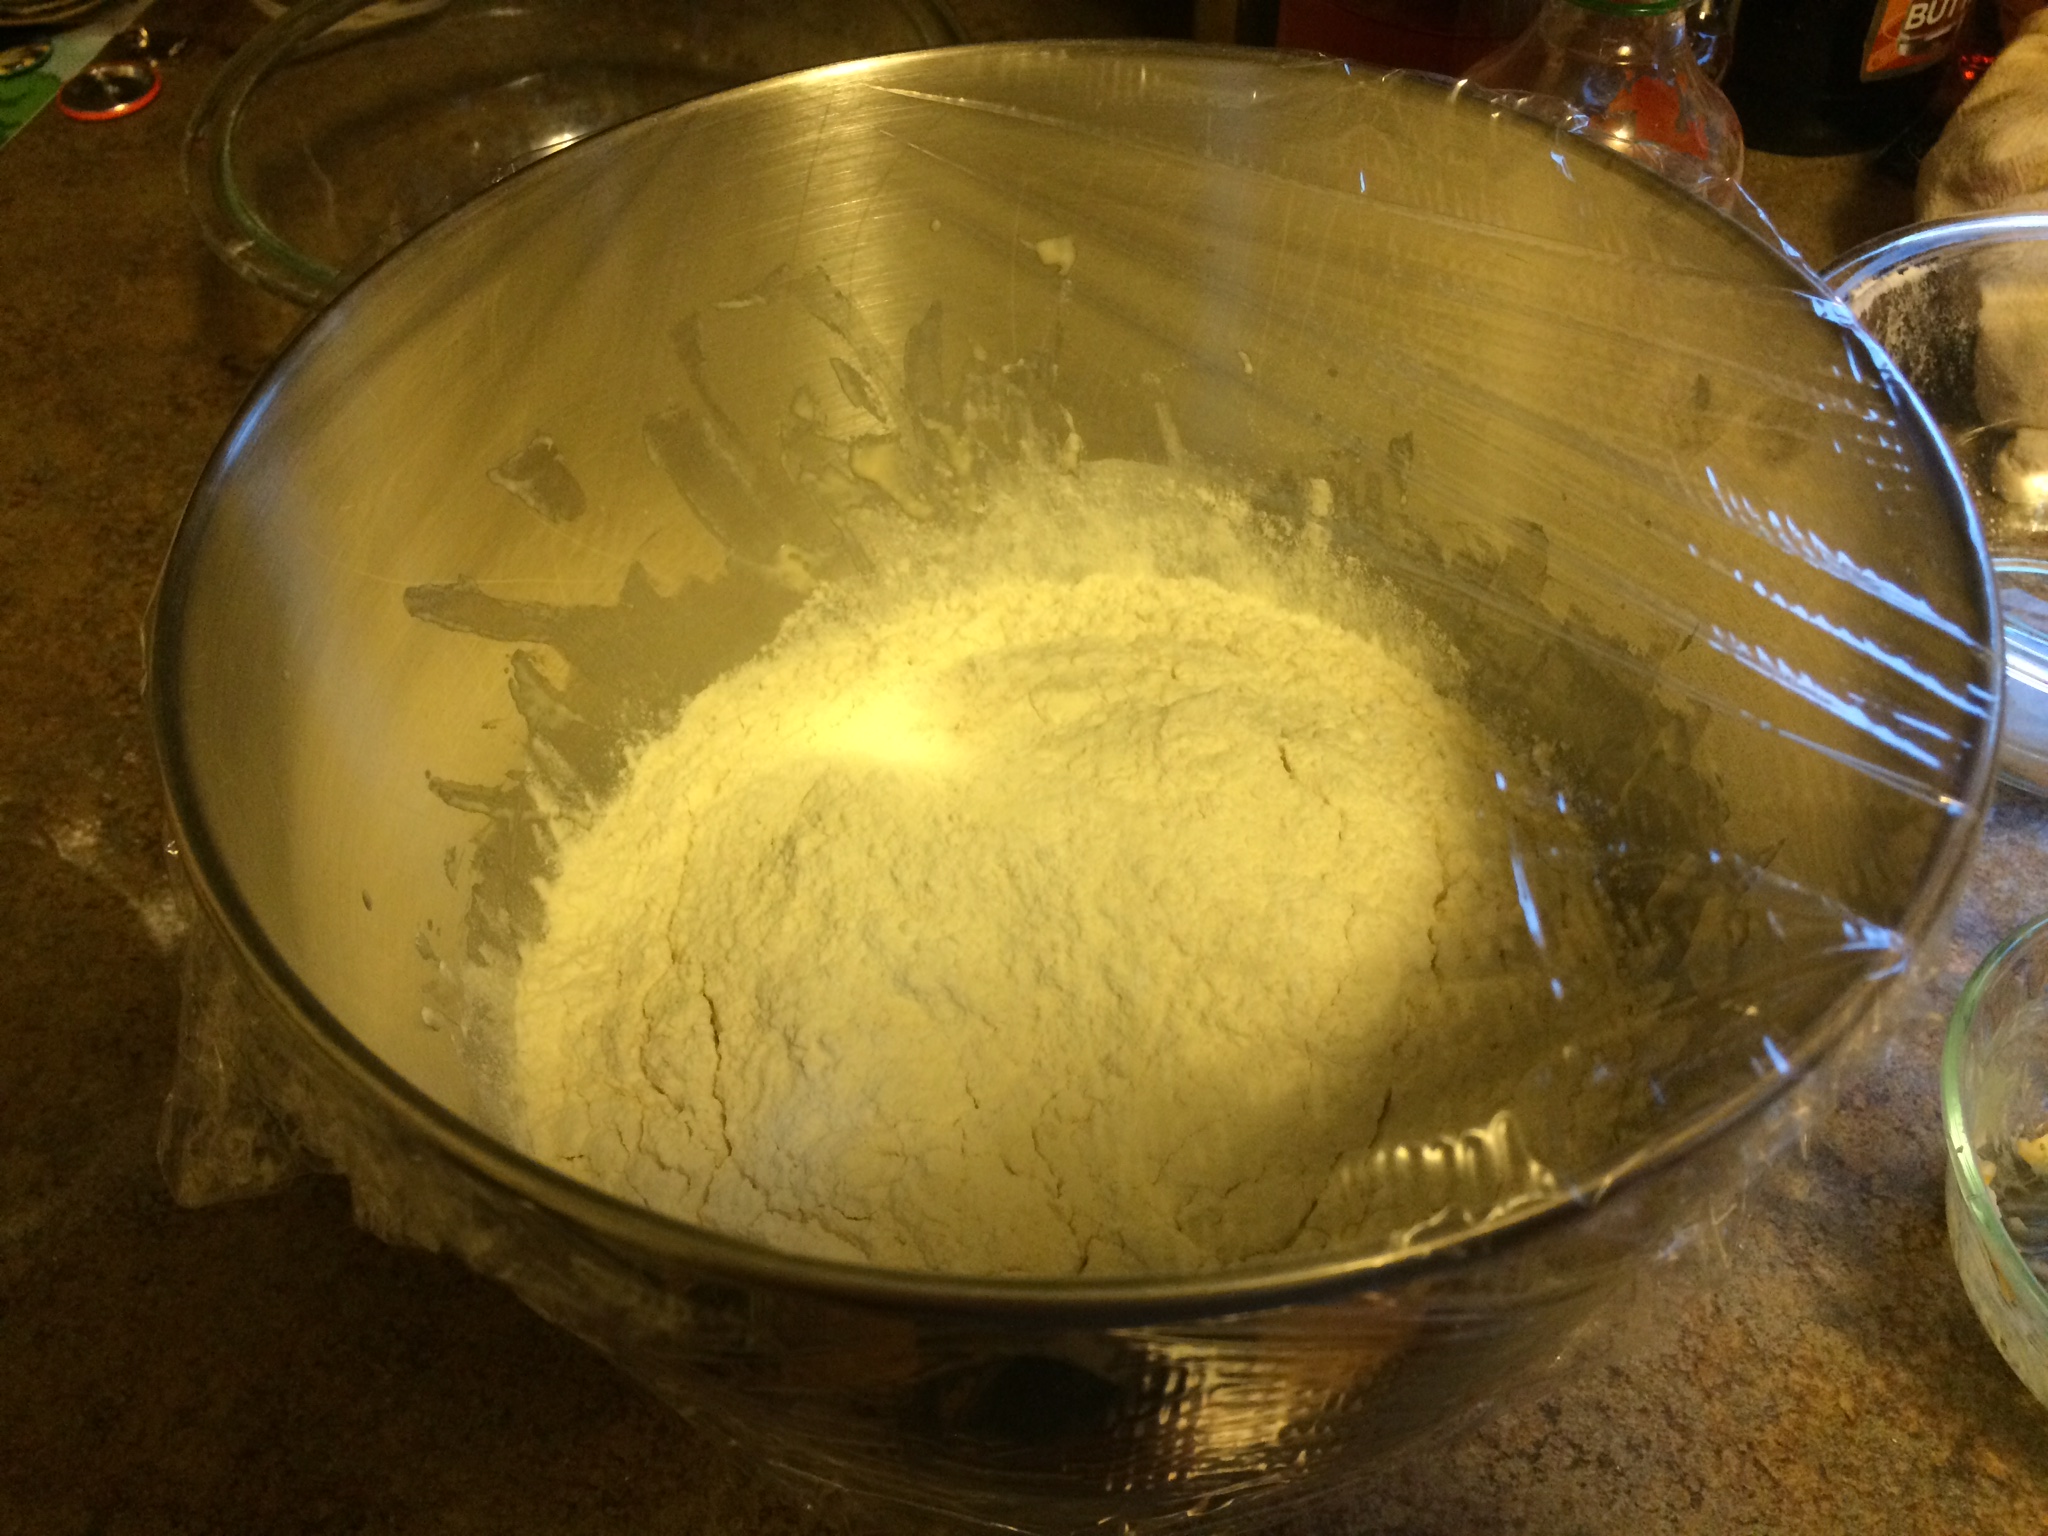
Divided dough on its second rise.
If you are going to make bread, I suggest investing in a scraper. My recipe makes two loaves of bread. It’s important when you divide your dough to do as little tearing as possible. I tore my dough the first time. It felt really funny, like it was bubble wrap. You have spent a bunch of time building up bubbles and gluten and connective tissue within your bread that you want to traumatize it as little as possible. An oiled scraper is great for dividing the dough as efficiently as possible. You can also use it to scrape off the dough fairly easily.
Note: Make sure you oil all of your materials well. If you are cutting the dough, oil the tool you use to cut it. Oil the bowl you rise the dough in. Oil the pan you cook the bread in.
My ex used to buy those refillable oil misters, but they always get gummed up and break and never work super well, so I bought Pam spray oil and have been praising God ever since. I don’t care if the hydrogenated oil kills me five years early, I want something that fucking works.
At this point you’re supposed to form the loaves. The directions say to pull it and fold it on a floured surface and roll it up and seal it and a lot of other junk. I have no idea how to do this. I saw diagrams at the beginning of the book, but I just didn’t get it to work. The bread turned out okay. I will be interested to see if learning to do this properly actually makes that much of a difference or not, but for now if you mess up this up it won’t make the bread inedible.
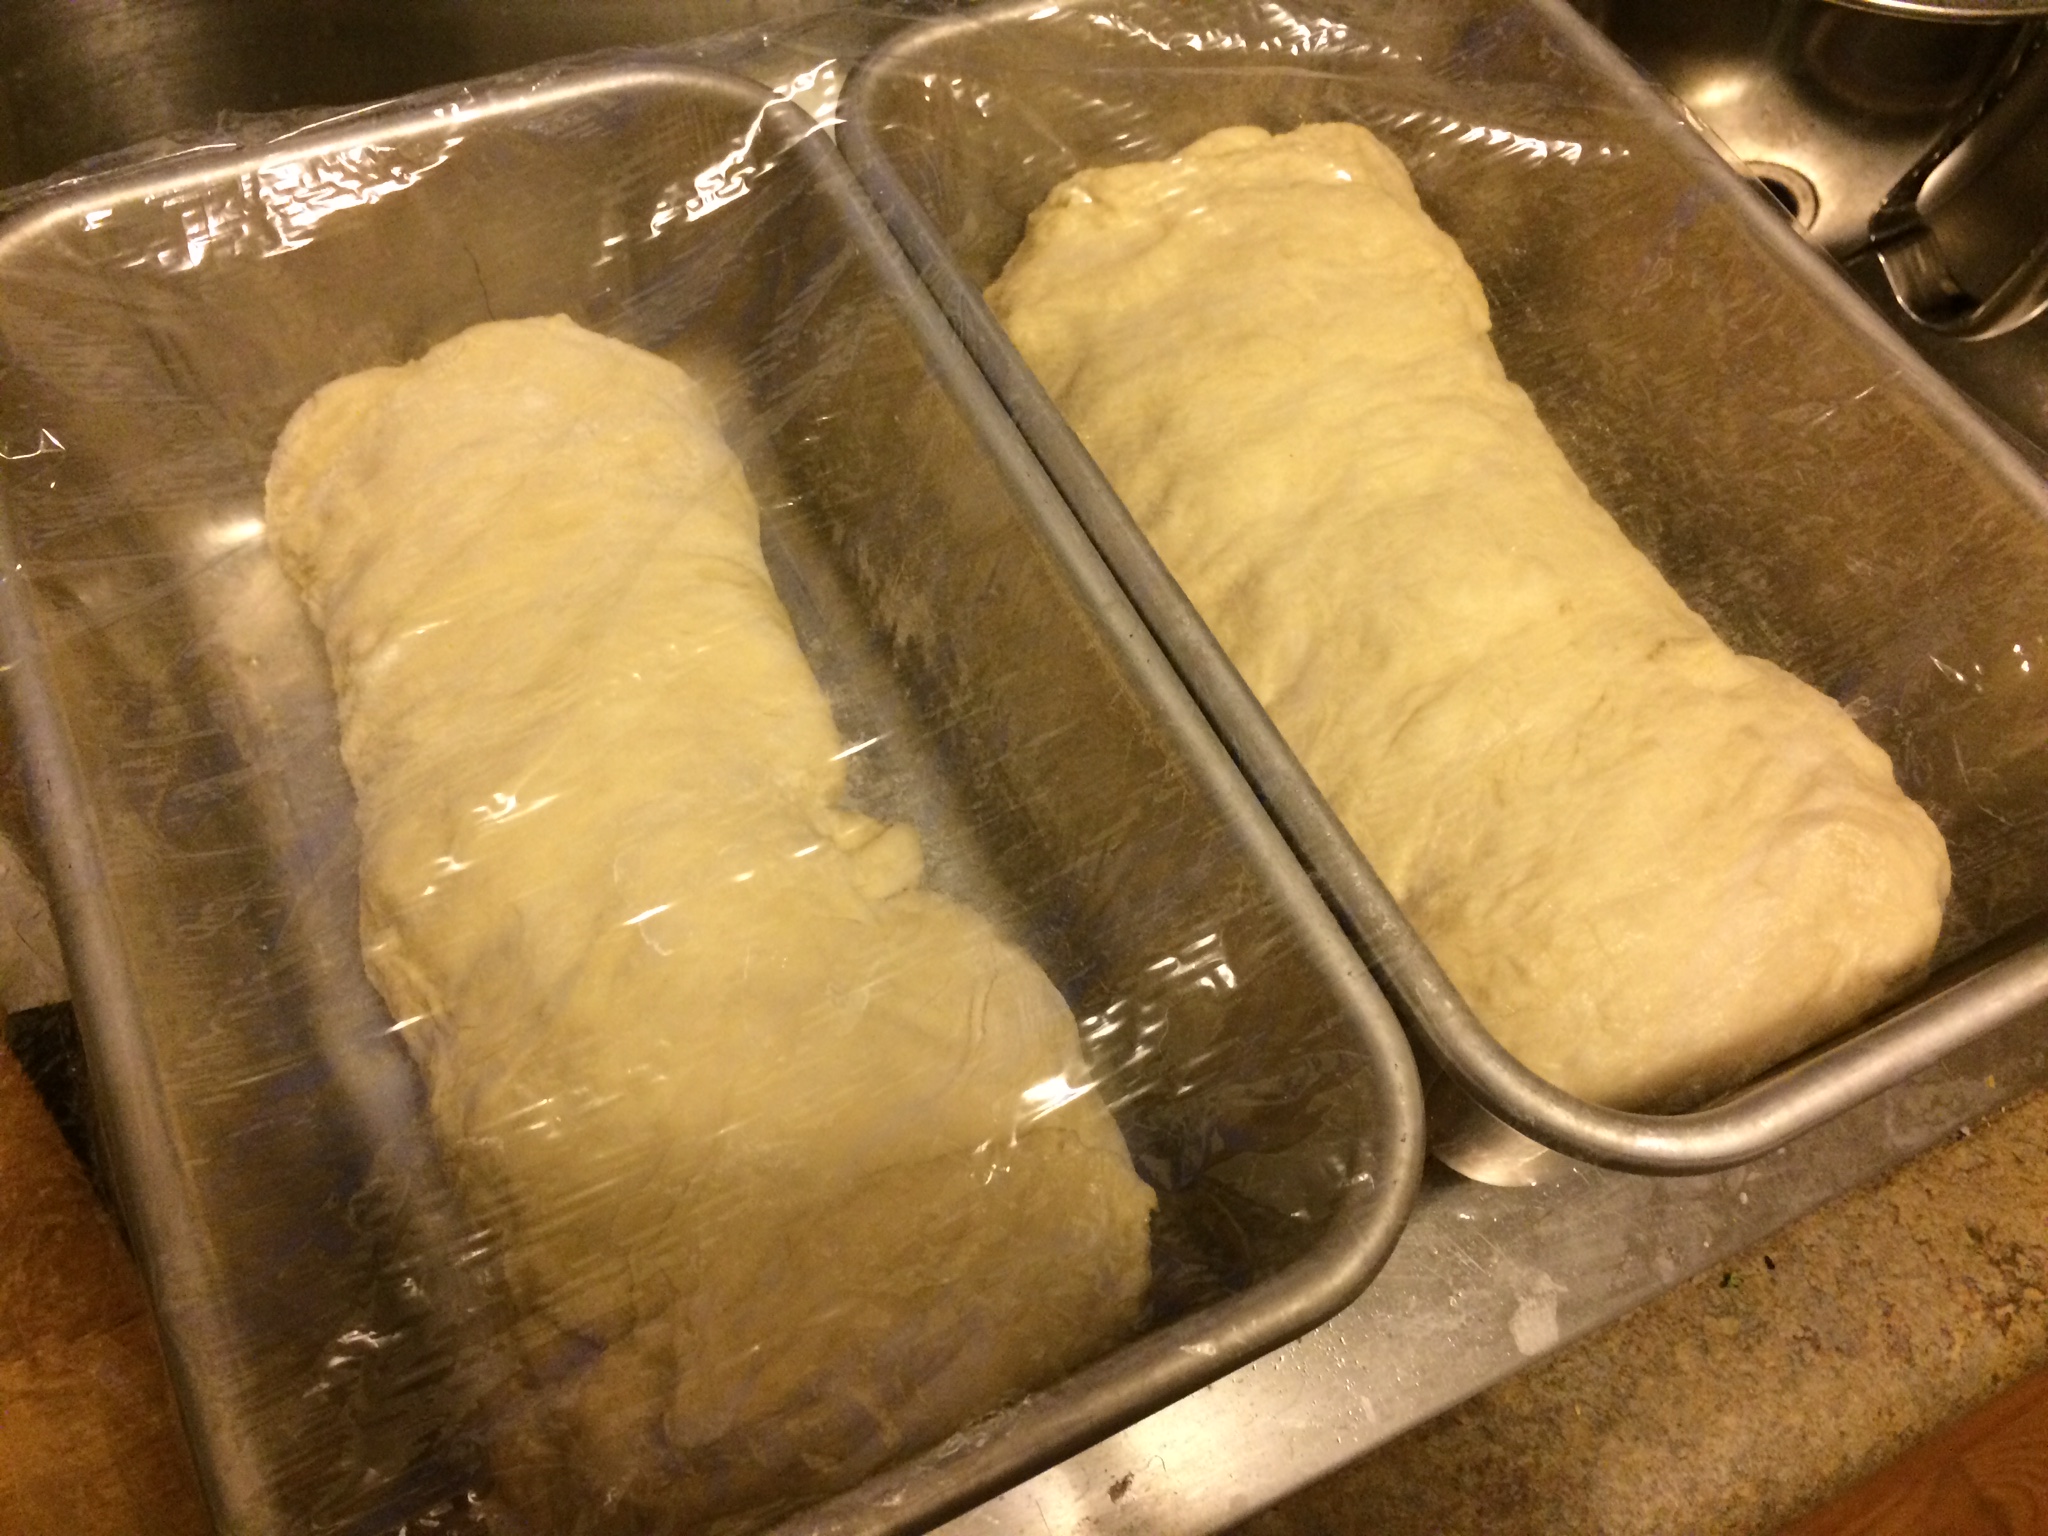
You divide the dough into two loaves and place them in oiled pans to rise. I use these pans from Nordic Ware. Nordic Ware has really nice bakeware. They have a lot of creative cake pans. These loaf pans are pretty robust and seem built to last.

Bread after its second rise ready to be baked.
I put the dough back in the oven with the light on for an hour and a half. It needs to rise further than that, but at this point you need to preheat the oven forty-five minutes before you bake the bread.
If you have a sheet pan of some kind, you should put it in there as well. I have this one. You are going to throw some ice cubes in the oven along with your bread and this makes it easier to do that.
If you have a pizza stone, I recommend leaving the pizza stone in the oven all the time. Even if you preheat the oven, when you open the oven most of the hot air escapes. Pizza stones retain heat really well, so heating one for a long period of time in the oven before you bake anything will help keep your oven warm.
While the oven preheats I leave the bread near the oven so it can use the heat to rise. When it gets to the point that it’s ready to bake, I put it on the sheet pan and fill a glass with some ice cubes. I place the loaf pans as far away from one another as possible. I dump the ice between the loaf pans and shut the oven.
This is one of the few recipes I have used that has the time right on the button. It says to bake for fifty minutes and that works perfect.
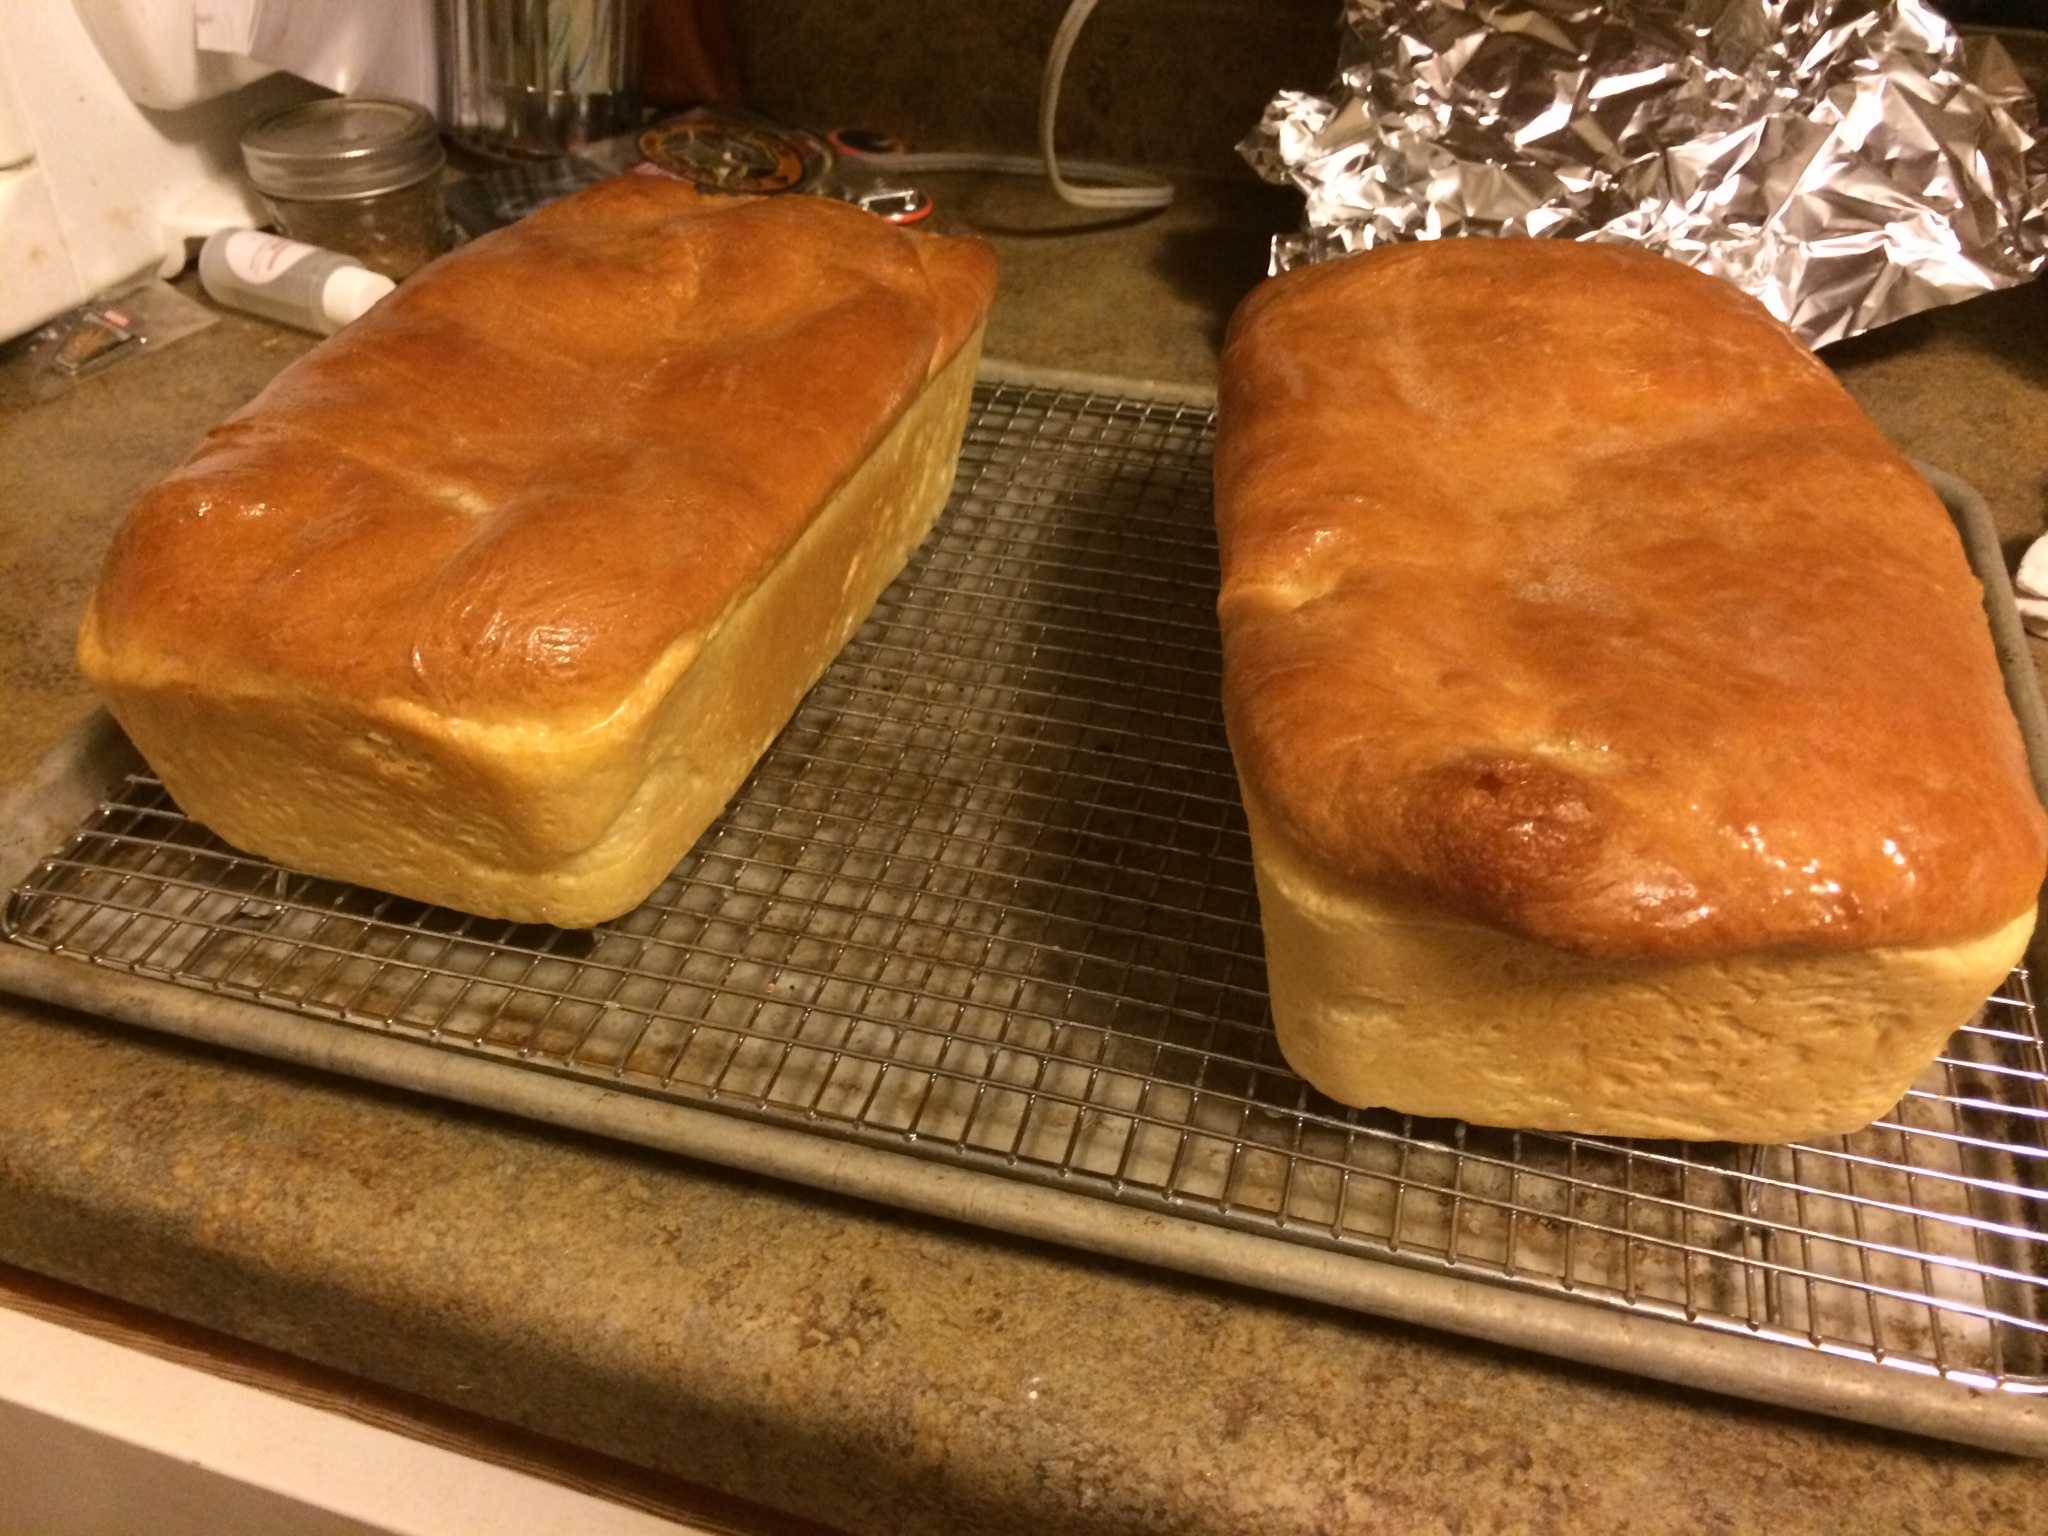
Baked bread cooling before being consumed.
As tempting as it is to dig into your warm, fresh bread, don’t do it! The bread needs time to cool and solidify. Make sure when you cut the bread that you use a good bread knife. I really like the Victorinox line of knives. I have a paring knife and a chef’s knife from them. America’s Test Kitchen highly recommends them and they are cheaper than a lot of other “good” knives.
Since homemade bread doesn’t have preservatives in it, it won’t last as long as grocery store bread. I have bought loaves of sandwich bread from the store that have been in my house for three weeks without spoiling. That is rather frightening to me.
I live alone and I can’t eat two loaves of bread before they go bad. I got around this the first time by giving one loaf to my mail man for Christmas. The second time I froze the second loaf. You can buy bread bags from Amazon to freeze your second loaf. Amazon also has Chinese take out containers and a lot of other industrial food service stuff, which I think is fantastic. Don’t get bored and look at this stuff or else you will wind up with a hundred plastic Egg Drop Soup containers and a hundred disposable sets of chopsticks.
Conclusion

Bread can be cut quite thinly.
The bread turned out perfect. I could cut very thin slices of bread after it had cooled. It makes really good toast. The crumb is fine. The flavor is good.
The recipe that Rose gave was pretty fool proof. You just do everything that it says to the letter. It doesn’t necessarily explain why you let the dough rest for twenty minutes. If you’re like my friend Nicki, you might just skip any step you think is superfluous. I think it would still be edible, but you won’t get optimal results.
A lot of success in cooking is just following directions. Letting things rest after they’re done, oiling things properly, etc… I know we all have trouble following directions sometimes, but when you get a good set and follow them properly it really demystifies the process of doing something complicated.

One of the simple joys in life: Toast made with fresh bread.